Amazing way to make a midbass capable speaker enclosure with Binder's board !
Speaker enclosure building is always fun.
It needs a lot of wood work, time and money..
There are cases where we can minimize the wood work and time required. We also can save on money.
The trick is to use binder's board instead of mdf.
Pros:
Factors to consider:
The following factors are to be considered for a non-resonant enclosure
Requirements for the project
Building process:
(Consider having a box depth 24-25% more than the front panel width)
Front and back panels - 4.25 x 6.9 inches


And this is how the transient response looked like.
It needs a lot of wood work, time and money..
There are cases where we can minimize the wood work and time required. We also can save on money.
The trick is to use binder's board instead of mdf.
 |
Binder's board (book board) how it looks |
- Mid bass capable
- Easy to build
- Light weight
- Save on money
- No heavy wood work needed
- Sufficient for casual listening
Cons:
- Not suitable for high power levels
- Not all speakers work well inside the enclosure built with binder's board.
- Improper choice of speakers and cutoff frequency cause unwanted enclosure resonances.
- Strength and reliability of the enclosure is limited
Factors to consider:
The following factors are to be considered for a non-resonant enclosure
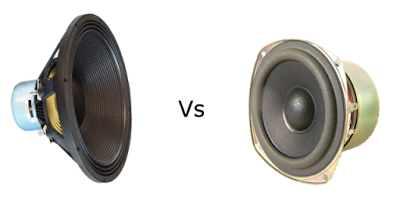
- The driver must have low x max (usually high efficiency drivers)
- Speakers typically below 4 inches are to be used
- Low frequencies below 100 hz should not be send to the speaker (atleast 2nd order high pass filter is necessary).
- Amplifier power output not greater than 15 watts rms usually works well.
Requirements for the project
- Binder's board
- glue
- lace pins (paper pins)
- knife for cutting speaker mount
- foam sheet (for damping)
- screws and nuts for mounting speakers
Building process:
 |
I made use of the boards available at my home |
My box plan is 4.25 X 5.25 x 7.25 inches (width x depth x height) for a 2.75 inch driver
(Consider having a box depth 24-25% more than the front panel width)
Front and back panels - 4.25 x 6.9 inches
Left and right side panels - 4.9 x 6.9 inches
Top and bottom panels - 4.25 x 5.2 inches
For more box plans click here
Top and bottom panels - 4.25 x 5.2 inches
For more box plans click here
 |
Panels waiting to get fixed with glue |
Assemble the panels together with glue and lace pins. You also have to seal all the edges, to prevent any air leaks.
Just leave the bottom panel without gluing.
You have to remove it later, to mount the speaker.
I usually assemble the panels in a slightly different way. See the picture below to find it out.
Just leave the bottom panel without gluing.
You have to remove it later, to mount the speaker.
I usually assemble the panels in a slightly different way. See the picture below to find it out.

This gives more support to front panel where we will mount the speaker
Once the box is well set, you can mount the speaker with screws and nuts.
Lining the interior with foam will minimize any problems related to standing waves.
Once the box is well set, you can mount the speaker with screws and nuts.
Lining the interior with foam will minimize any problems related to standing waves.

And this is the finished look. I wrapped it with gift wrapper sheet for cosmetics.

And this is how the transient response looked like.
I am satisfied with my finished speakers. It sounds decent and mid bass capable.

Comments
Post a Comment